


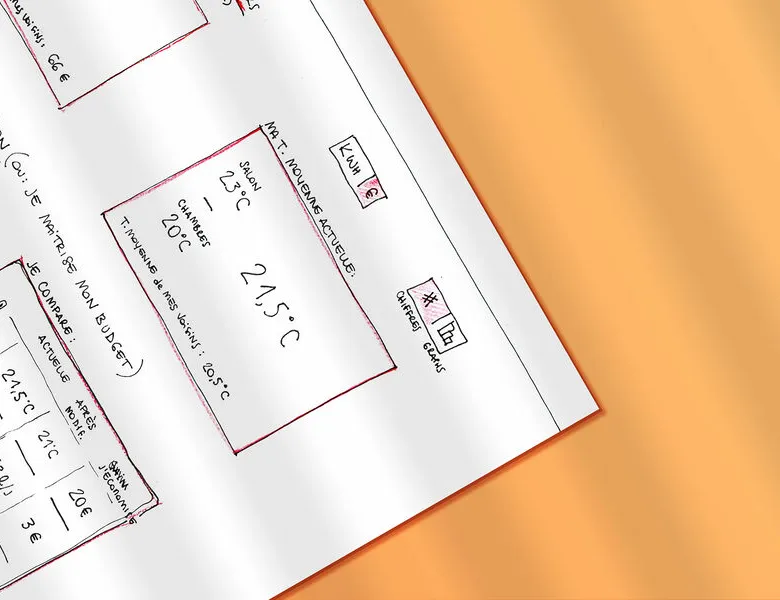


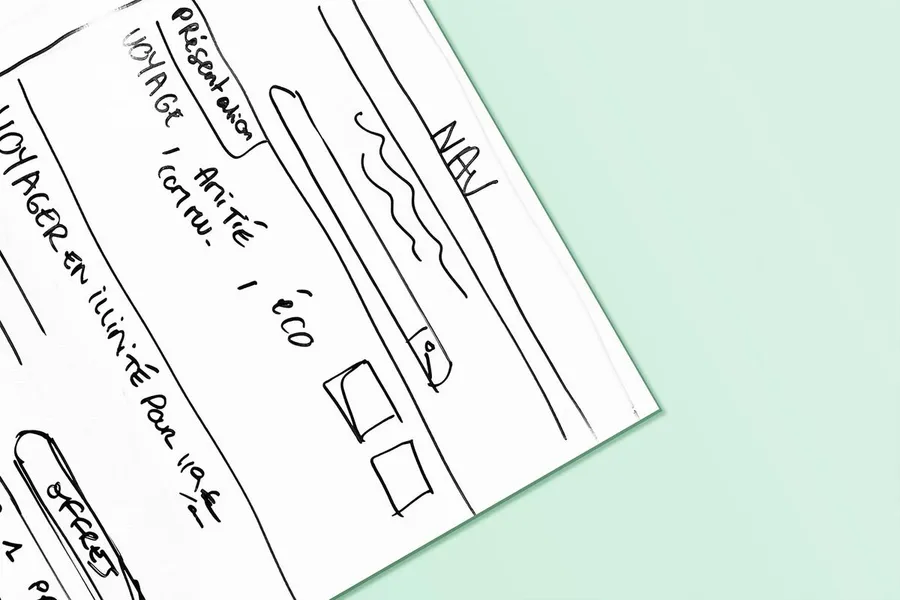
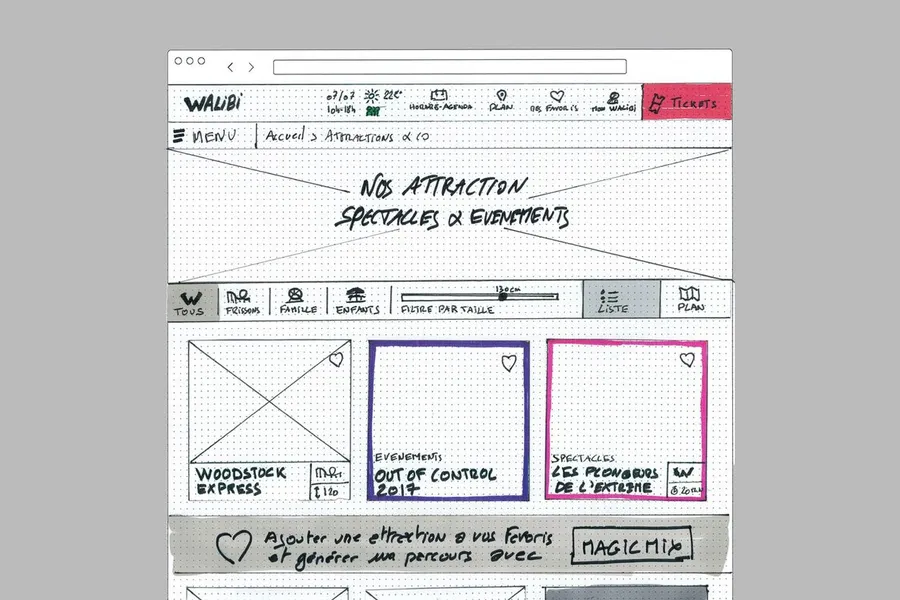
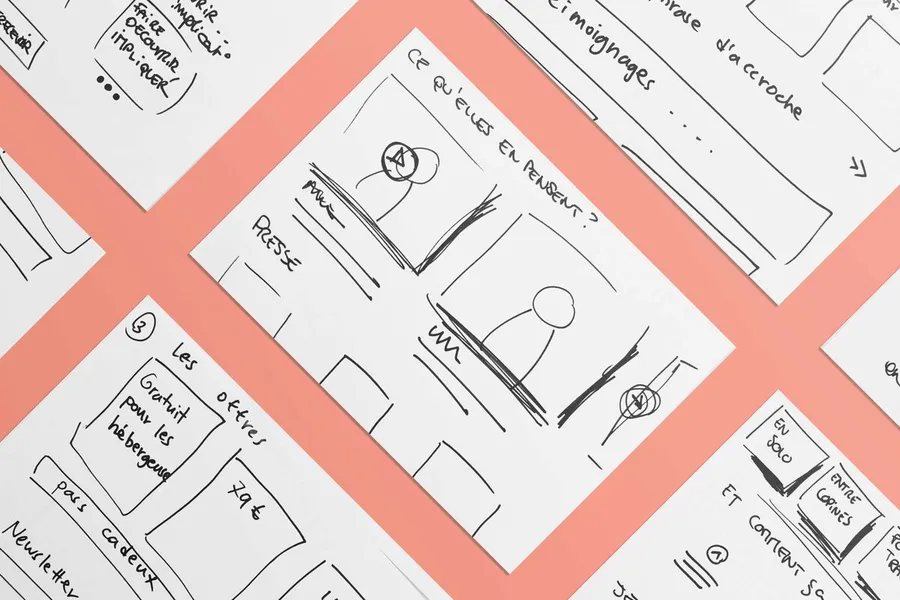
Sketching is the practice of creating user interfaces as drawings, most often freehand. The designer draws the structure of the screens and shapes their design ideas while accounting for user needs and project goals. These sketches then act as a collaborative working base with the project team, and let you validate the content before moving on to wireframes. It is a real time-saver in an iterative workflow, letting you share the first directions quickly. Quantity takes priority over quality here.
In individual ideation sketching, the designer works alone to put ideas directly onto paper or sketch an overview of the user journey. It is a good way to step back and picture the whole.
A co-sketching workshop is a collaborative approach within co-design. Sketching is used in workshops to let non-designers contribute through simple drawings, an excellent way to give workshop participants a voice. You can start from a blank sheet of paper or draw ideas over an initial interface base.
You don't need to be an artist to convey your ideas through drawing. But for better understanding, it's important to make the content explicit.
01
Structuring the sketches
Define the overall interface structure with a black marker. For details, switch to a thinner pen, and underline the important elements (buttons, features and so on) with a coloured marker or a highlighter.
02
Spelling out ideas
Use the areas outside the screen to describe certain components, pointing to them with arrows. For a journey, explain the links between the steps, the actions to take, the products and services affected, and even how users feel.
03
Detailing interactions
To complete your sketches, explain possible interactions by drawing the step before and/or after, such as a popup opening when you click a button.
No, far from it. Sketching is similar to rough drawing, and what matters is not aesthetics but the clarity of the idea being communicated. We use basic shapes (squares for images, lines for text), which are more than enough to represent a readable interface. A successful sketch is a rough draft that gets the message across so it can be discussed and decisions can be made.
It is much the same as the difference between a wireframe and a high-fidelity mockup. Sketches are often drawn freehand and on paper. They are used to rough out the main structural elements and support discussion within a project team. A wireframe, meanwhile, is created in software and produces a cleaner, more precise result.
Co-design provides a mindset for designing a response to a problem. Sketching is one of the many formats in the co-design toolbox. We use sketching to let all participants shape their ideas and explain them more easily, even if they only use squares and arrows.
Among the ones we usually work with, there is Crazy 8, which consists of proposing variations on a solution in 8 minutes. We rely on the sketching produced, individually or in a small group, before it is presented to the others to get constructive feedback. It is also a good way for participants who are less comfortable speaking to express their ideas. We can also have two groups work on an interface. After a set amount of time, they swap sheets and each group must respond to and build on the other group’s idea.
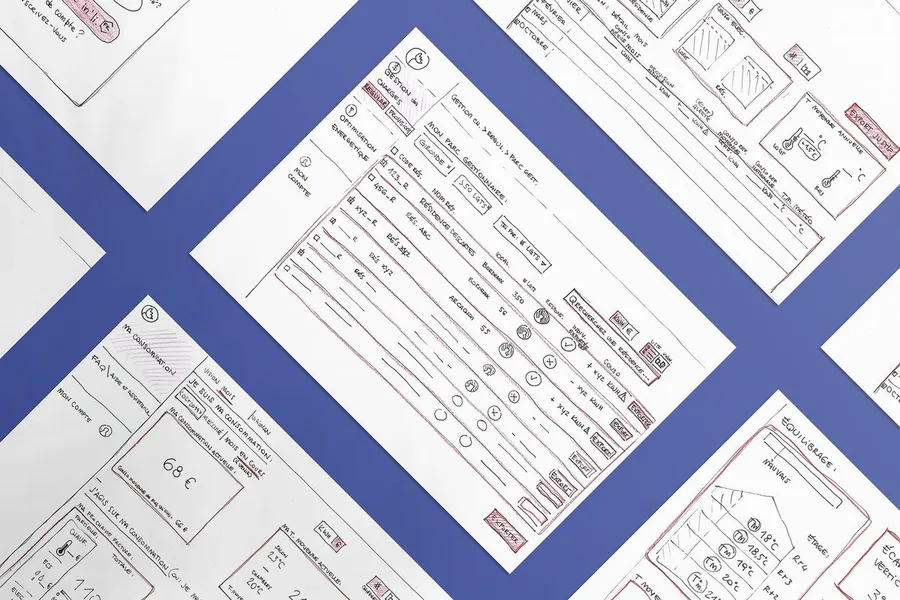
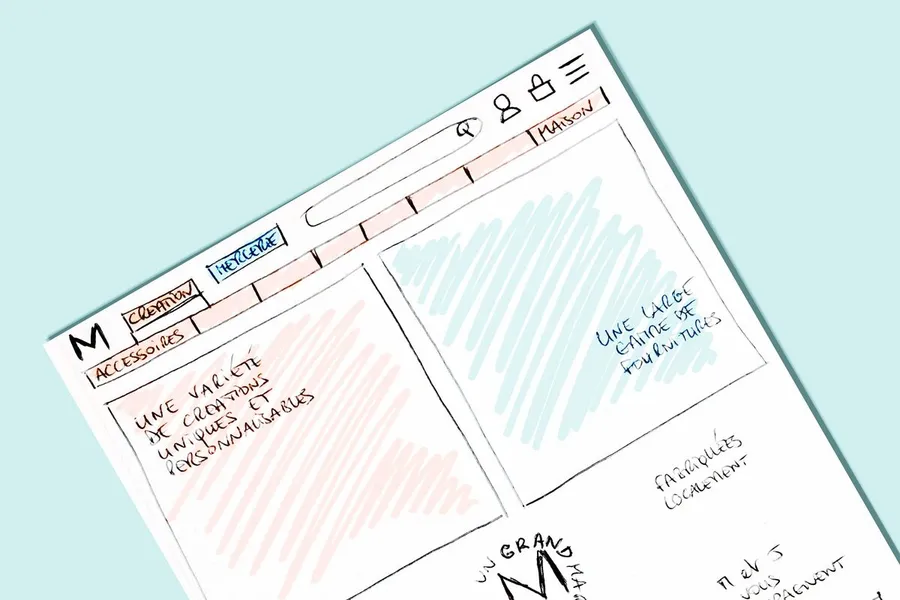
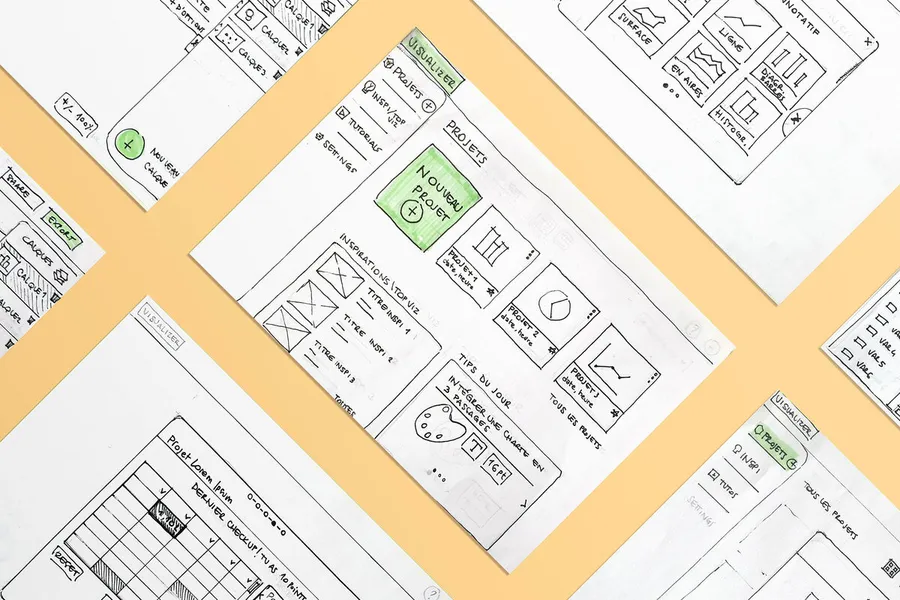




A wireframe is a mockup describing the zones and essential components an interface should contain.
Read more about WireframeJust as in film or animation, the storyboard gives designers an overview of the process and surfaces potential problems or areas for improvement.
Read more about StoryboardMore or less advanced animation of the screens to present a dynamic journey to users and gather feedback.
Read more about PrototypeThe design sprint is a format, not a method, that condenses the steps from design thinking into 5 days to solve a given problem with a group.
Read more about Design sprintDrawing on collective intelligence, these workshops help align stakeholders and surface solutions with the project team and/or the end users.
Read more about Co-designZoning is the visual representation of an interface through the placement of its simple content blocks, without detail: no text, no images.
Read more about ZoningEveryone talks about user experience, service design, ergonomics...
It's not always clear, and you'd like to find out, or sharpen what you already know.