


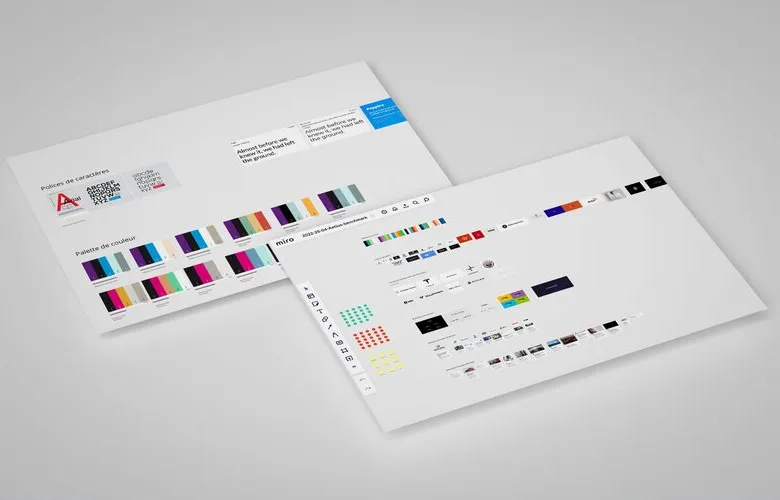


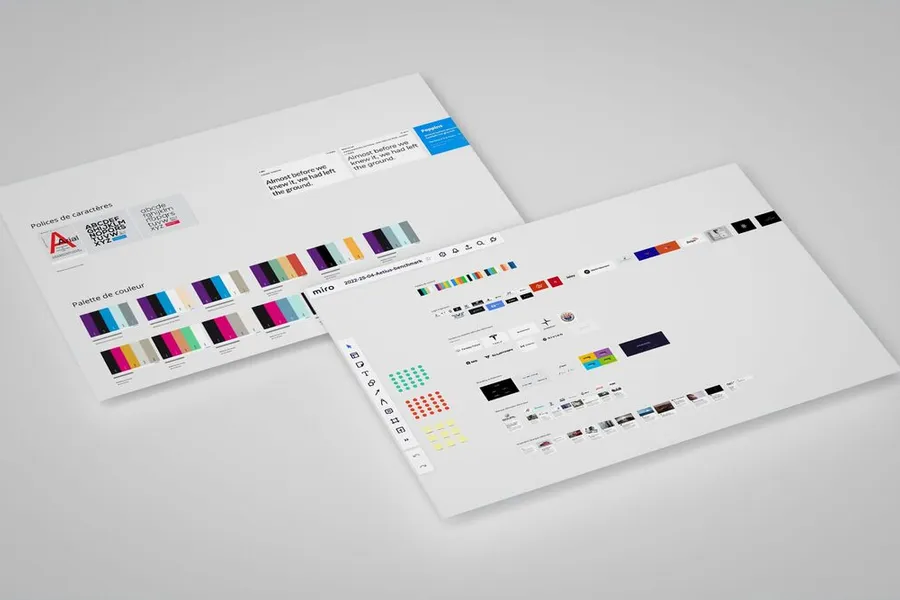
The moodboard, also known as an inspiration board, is an overview of inspiration material. The selected pieces relate to a theme specific to your project, brand or company. They can be magazine pages, screenshots of sites, images, drawings, words, diagrams and so on. The aim is to lay out and show a selection of creative ideas and concepts, to settle on an artistic direction for the next stages of your project. The moodboard is the equivalent of a UI benchmark.
The cataloguing process lets you list creative ideas, find sources of inspiration, and also share a common base to discuss and iterate on with clients. Here, before talking pixels or technique, the point is to bring out the emotion, the feeling. This phase shouldn't be taken lightly: it will save you time and effort during art direction and later when producing the high-fidelity mockups in the UI sprints.
01
Moodboard and visual research
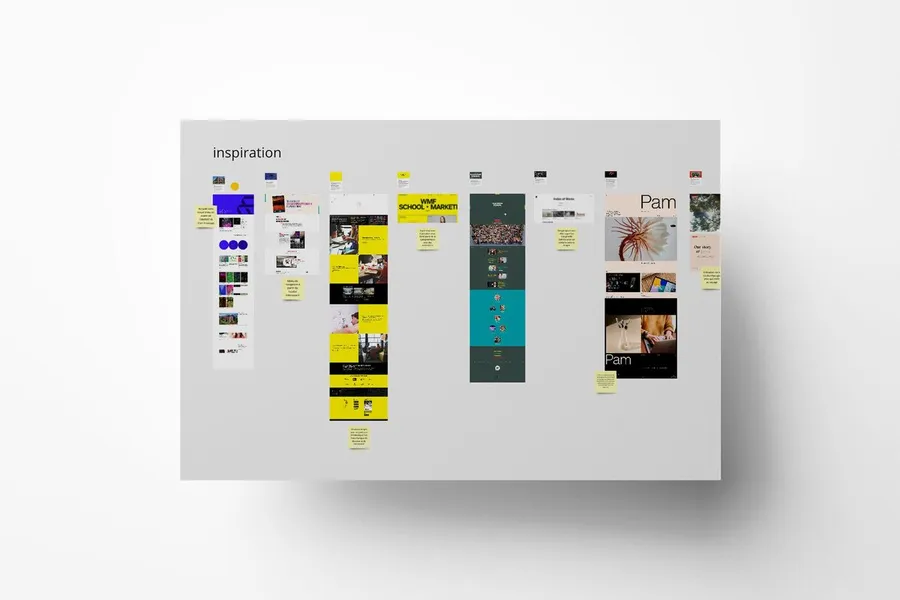
For the moodboard to be rich enough, an exploration step is essential. Before starting your research, list a series of keywords that match the project, along with your client's wishes and goals. They'll act as the basis for kicking off your research on certain sites. Many platforms like Pinterest, Awwwards, Dribbble, Instagram or Behance form a useful first-level research base. Of course, you can also take photos of outside elements (buildings, nature, art, and so on) or find your inspiration in brochures, books and so on. Any source of inspiration can be relevant. During this phase, it's important not to hold back and to put all your ideas in: sorting the pieces comes in a second step.
02
Group and sort your inspirations
Once all the inspirations are gathered, you need to categorise them by theme or visual style, to have several different directions to put forward. This step also lets you remove pieces from your moodboard that fall outside the project's scope. That's why it's important to re-read your keyword list regularly, to make sure you don't drift too far from the main subject. Several tools can help here too: Miro, Milanote, Pinterest boards.
03
Present and pick directions
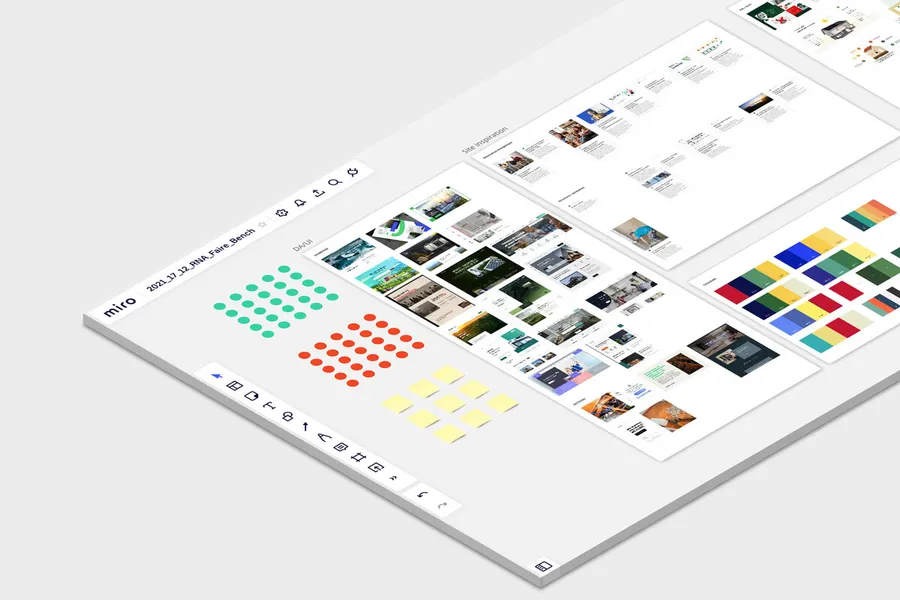
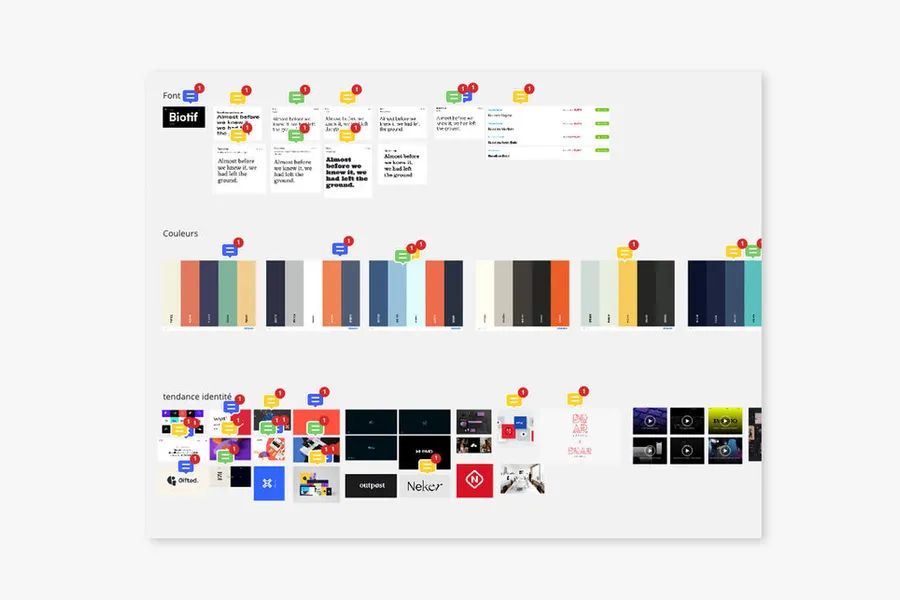
When presenting to clients, set up a voting system (dots, stickers, and so on) and facilitate the exchange. This phase will help you better understand the expectations around the future product image, and also pin down the visual scope for the art-direction phase. You can prioritise your contributors' choices and preferences. Example: red dot for out-of-scope elements or ones people don't like; green dot for elements to keep; orange dot for elements that look promising but need rework. During this third step, keep an open mind. Your contributors may have a different view from yours, so it's important to factor in their feedback and gather it. Building shared ownership starts from this pooling step.
04
Finalise the moodboard
Once your iteration is done, duplicate your workspace (it's important to always keep an older version of your work, in case your contributors or clients want to revisit a specific point). To consolidate your work, remove the pieces that didn't get any traction. Try to group the pieces that got positive feedback to set up two or three different styles. Give a title and a description to describe your concept. Example: Option 1, Floral. Natural elements with branches, leaves and flowered pieces. Nature, simplicity, restraint.
Once your moodboard is consolidated, remember to have it validated by your contributors or clients, to make sure the directions chosen are clear and approved. You now have a properly enriched and complete moodboard, which lets you start your art-direction phase with more confidence.
A moodboard is a collage of images, colours, typefaces and textures that captures the atmosphere, style and emotions you are aiming to produce for a project. It serves to align stakeholders on a creative direction before starting the design. It is neither a prototype nor a mockup: it is a communication tool about the aesthetic and emotional intent of a project.
It lets you validate the creative direction very early on, before investing in the production of mockups. It aligns the client or stakeholders on the desired visual atmosphere and reduces the risk of disagreement when the first mockups are presented. It also serves as an internal reference for the design team during production: when you hesitate between two visual solutions, you go back to the moodboard to check which one is more consistent with the initial intent.
You start from the keywords that define the identity or the atmosphere you are looking for, then you collect images, typefaces, colour palettes and interface examples that evoke those keywords. You organise it in a consistent way: a readable moodboard has a visual through-line, not just an accumulation of images. Tools like Pinterest, Are.na or simply Figma let you collect and compose. You generally present 2 to 3 different directions to allow stakeholders to choose or combine.
The moodboard is an upstream step of the graphic charter. It explores creative directions in an 'inspirational' mode before the choices are formalised. The graphic charter formalises the decisions made: precise colours (hexadecimal codes), chosen typefaces (families, sizes, weights), logo usage rules. A moodboard can exist without leading to a charter (for a one-off project); a charter is always built from a creative direction, whether or not it is formalised as a moodboard.
Both, depending on the context. For a client, it is an intermediate deliverable used to validate a direction before going further. For the team, it is a working tool and a continuous reference during production. It is useful to keep it accessible (pinned in the Figma workspace, for example) so that each visual decision can be assessed against the initial intent.


A benchmark explores current trends in usage, features and design: the good ideas, and the ones to avoid.
Read more about BenchmarkThe visual style guide is a document that brings together all the information and graphic elements of a brand. It includes the rules to follow and the uses to avoid. It keeps the brand image coherent and consistent across all touchpoints.
Read more about Visual style guideEveryone talks about user experience, service design, ergonomics...
It's not always clear, and you'd like to find out, or sharpen what you already know.